
Product Block
Package: BASIC
1. General
The blocks "Line Item Group - Basic Settings", "Line Item Group" and "Summary" in the Billing modules are also referred to as the "Product Block", since products and/or services can be selected here.
The Product Block is available in the following modules, which are counted among the so-called "Billing modules":
- Sales Orders
- Deals
- Incoming Invoices
- Purchase Orders (brainX CRM only)
- Credits
- Delivery Notes (brainX CRM only)
- Invoices
- Cancellations (Product Block usable only to a limited extent)
- Contracts (brainX APP only)
After opening the settings item "Product Block", it is divided into three areas:
- Settings → Formatting of numeric values in product blocks and settings for dynamic line item groups
- Fields for product and service positions → Create and edit fields for product and service positions
- Line Item Groups -> Edit properties (including managing values for line item groups) and define a default billing interval per line item group
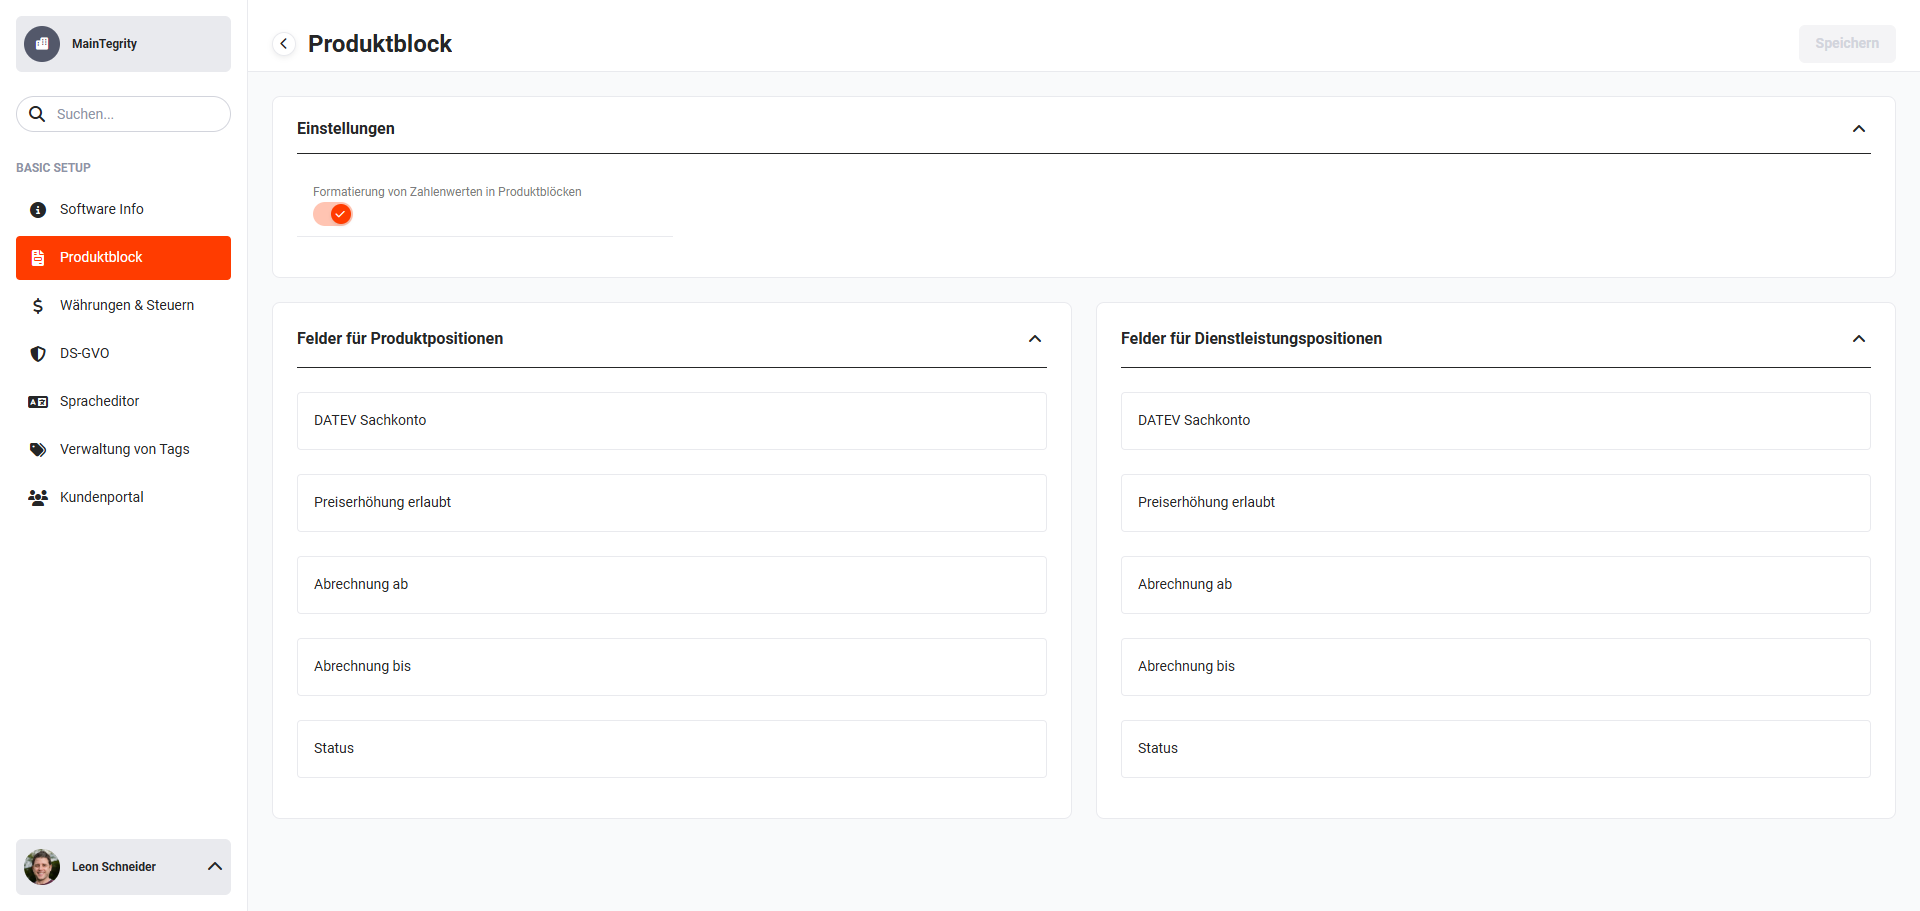 Basic Setup - Product Block
If settings have been changed in one of the four areas, the "Save" button at the top right becomes active. Only after clicking the button and saving the changes are they active in the system.
2. Settings
The following fields are available in the "Settings" area:
- Formatting of numeric values in product blocks (toggle) → Using the toggle (active/inactive), you set whether numeric values in the product blocks are formatted automatically.
- Allow dynamic line item groups (toggle) → Using the toggle (active/inactive), you set whether new line item groups can be created directly when selecting a line item group.
If the setting is active, users have the option to create new line item groups directly when selecting a line item group in the product block.
After clicking the "Add line item group" button, the "Create line item group" button is shown in the flyout menu:
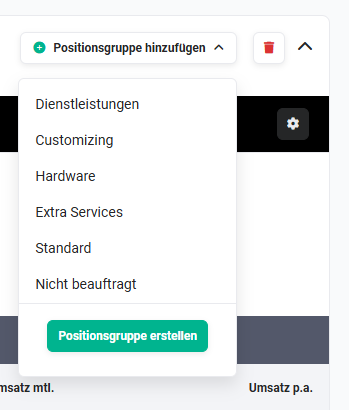 Flyout menu Line Item Group
After clicking the "Create line item group" button, the "New line item group" popup opens:
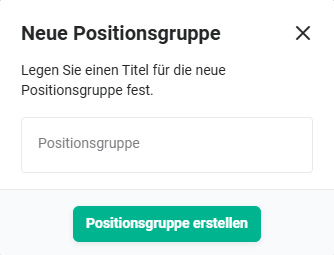 Popup "New line item group"
After entering the name in the "Line item group" field and clicking the "Create line item group" button, the new line item group is created and immediately displayed.
The line item group is created only in the record currently being edited. It is not permanently saved. New line item groups that are to be permanently saved must be created via the settings item Line Item Groups.
3. Fields for product and service positions
In the blocks "Fields for product positions" and "Fields for service positions", fields that relate to Products or Services respectively are managed.
Both blocks have an identical structure; the following functions apply to both.
Fields can be newly created, edited, hidden and restored; in addition, audit-proof fields can be loaded.
On mouseover of the block, several action icons are displayed.
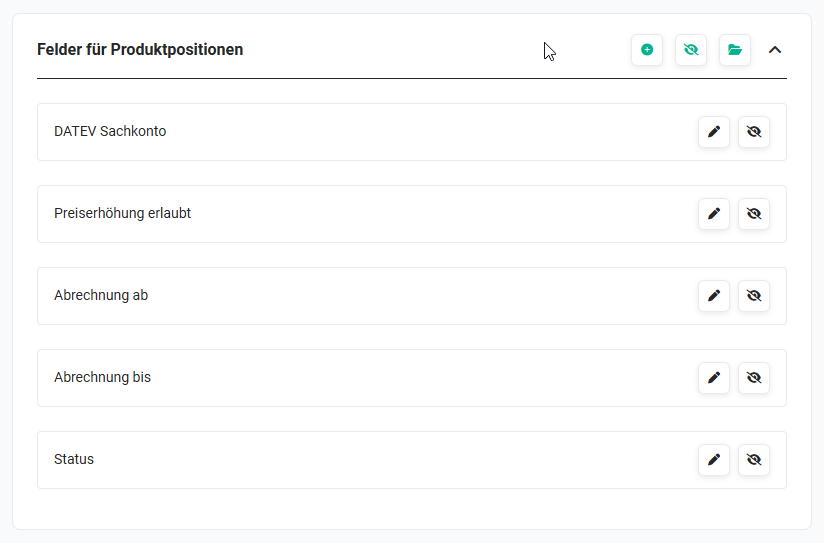 Action icons for product position fields
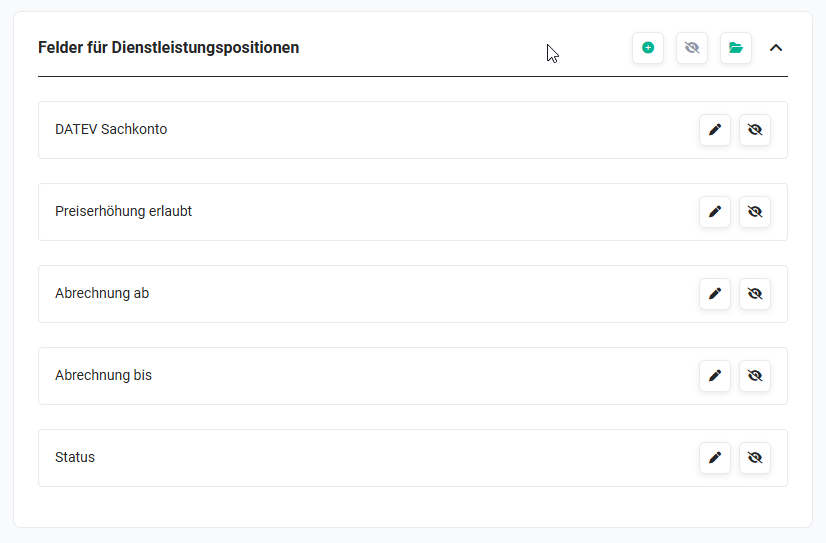 Action icons for service position fields
In the upper area, the following action icons are available:
- Create a new optional field (icon "Plus") → Create a new, user-defined field
- Hidden optional fields (icon "crossed-out eye") → Show hidden optional fields
- Load audit-proof field (icon "open folder") → Load audit-proof fields of the module
For each field, two further action icons are available:
- Edit properties (icon "pencil") → Edit the properties of the field
- Remove field (icon "crossed-out eye") → Remove the field
The quantity and list price of positions in the product block can be entered with up to 6 decimal places. Trailing zeros are truncated in the display. This is particularly helpful when billing small units (e.g. API tokens).
The sales prices of Products and Services can also be entered with up to 6 decimal places.
3.1. Create a new optional field
After clicking the action icon "Create a new optional field" (icon "Plus"), the "Add custom field" popup opens.
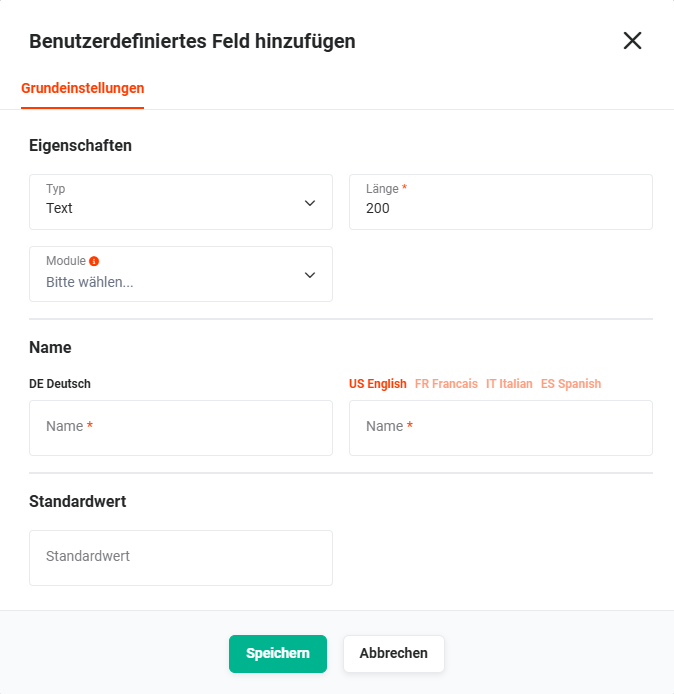 Popup Add custom field - Type Text
The "Add custom field" popup is divided into three areas:
- Properties → depending on the selected field type (e.g. Text, Number, etc.), further (mandatory) fields for input are displayed.
In the Modules field, you can (optionally) select the modules in which the new optional field is to be displayed.
If no module is selected in the "Modules" field, the field is displayed in all modules.
- Name → Enter the field name in all languages
- Default value → Optional entry of a default value
3.2. Hidden optional fields
After clicking the action icon "Hidden optional fields" (icon "crossed-out eye"), the "Hidden fields" popup opens.
The action icon "Hidden optional fields" is only clickable/active if hidden fields exist.
The popup lists all hidden fields. These can be selected via checkbox and shown again by clicking the "Show selected" button.
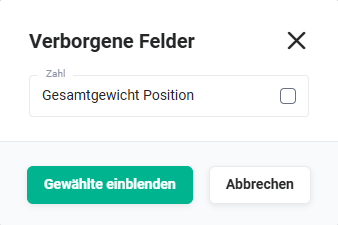 Popup Hidden fields
3.3. Load audit-proof field
After clicking the action icon "Load audit-proof field" (icon "open folder"), the "Hidden fields" popup opens.
The popup lists all audit-proof fields. These can be selected via checkbox and loaded/shown by clicking the "Show selected" button.
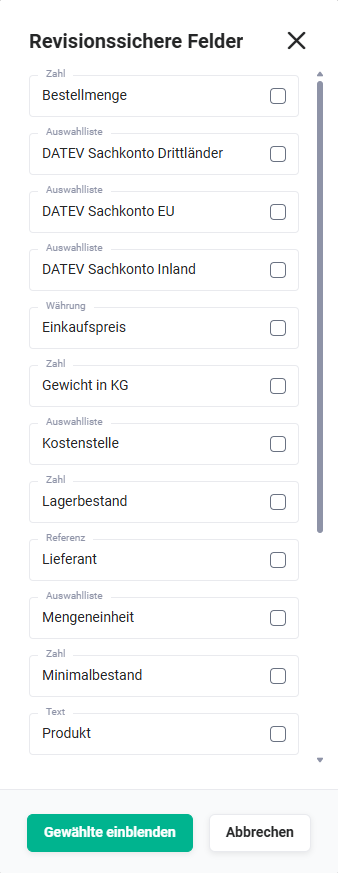 Popup Audit-proof fields
3.4. Edit properties
After clicking the action icon "Edit properties" (icon "pencil"), the "Edit properties" popup opens.
Depending on the field type of the field being edited, the display of the fields shown in the popup differs.
Non-editable fields are shown "greyed out". All other fields can be edited accordingly (e.g. selection of modules, changing the name or default values).
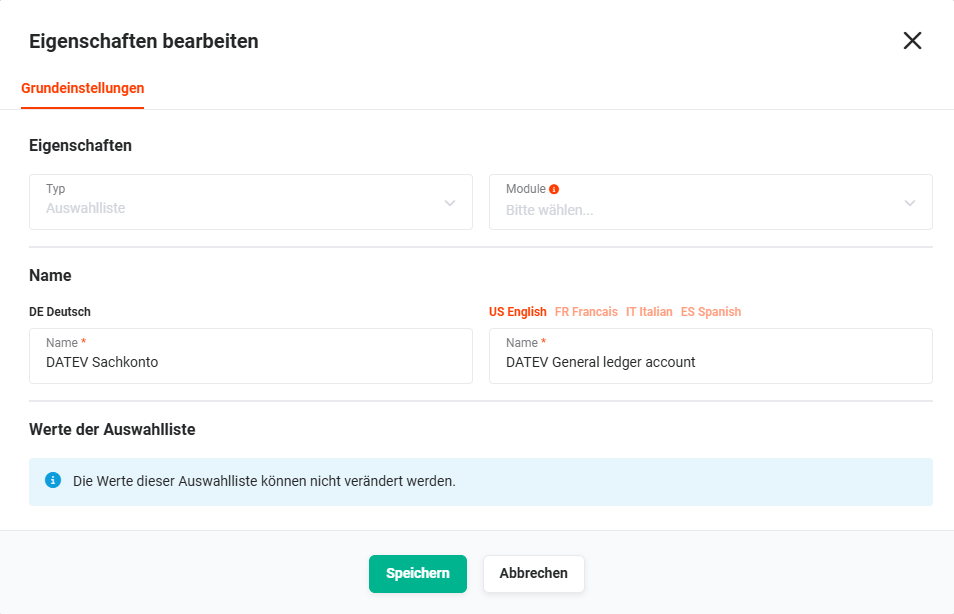 Popup Edit properties - Field type picklist (picklist values not editable)
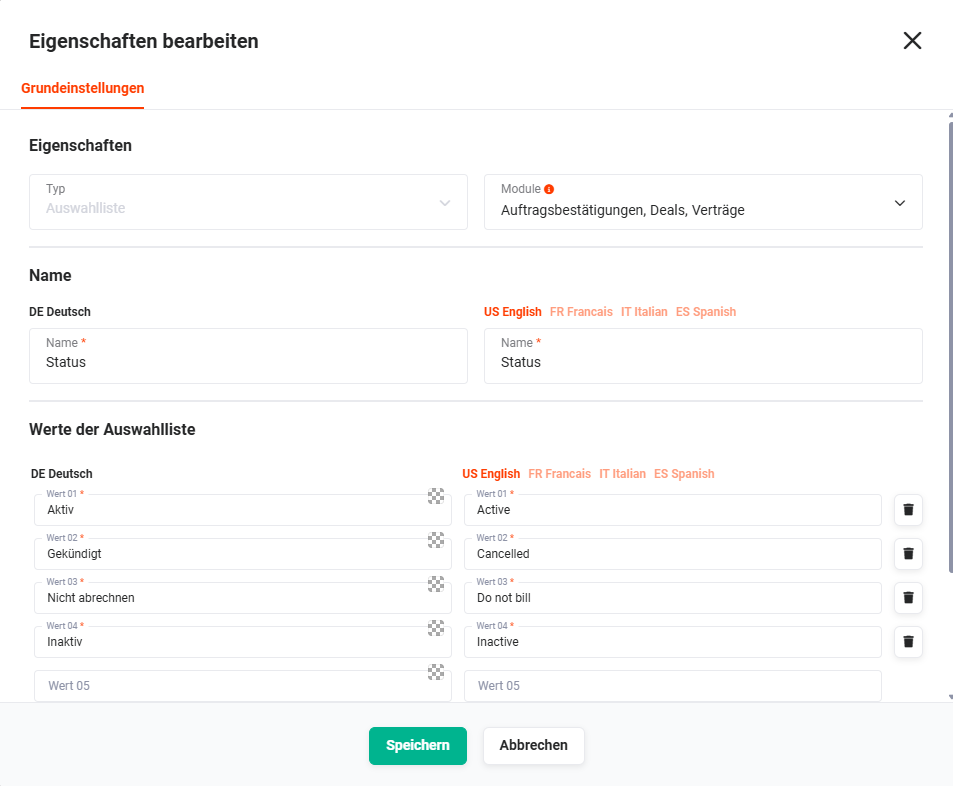 Popup Edit properties - Field type picklist (picklist values editable)
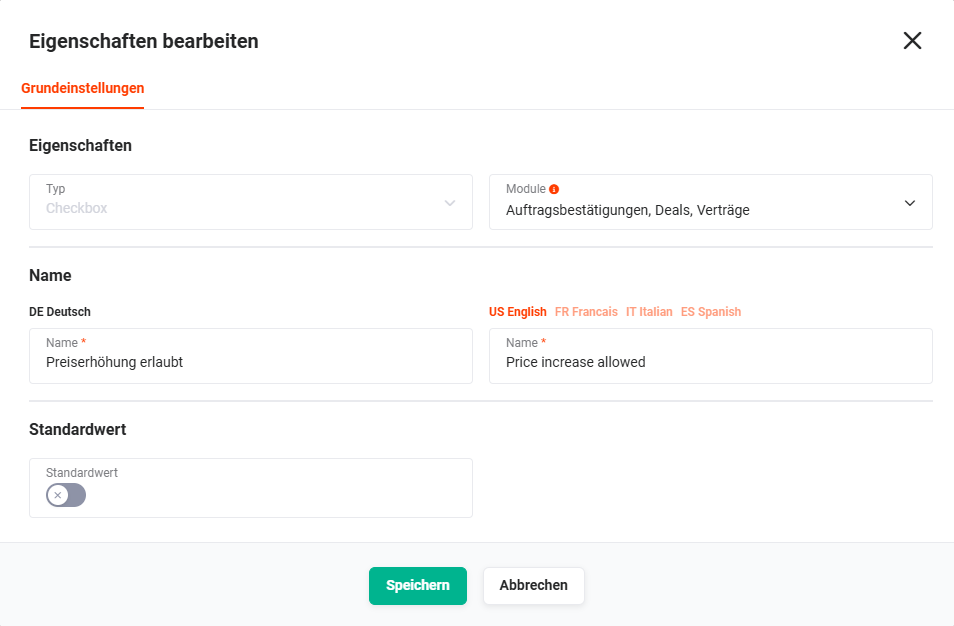 Popup Edit properties - Field type Checkbox
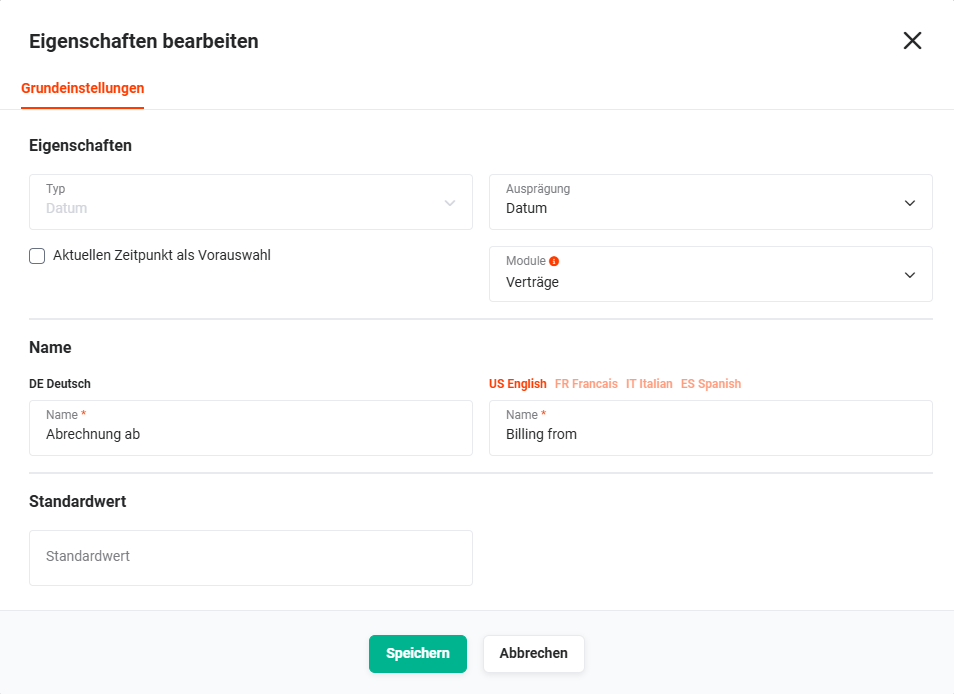 Popup Edit properties - Field type Date
3.5. Remove field
After clicking the action icon "Remove field" (icon "crossed-out eye"), a note with the following text is displayed: "The field will be hidden and can be shown again at any time. No information is deleted."
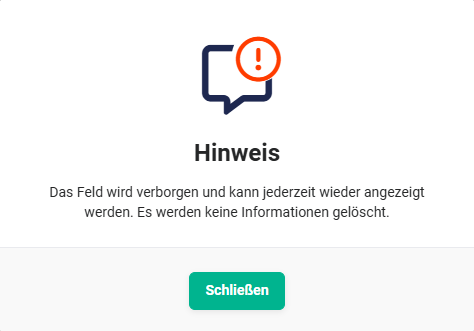 Note Hide field
After clicking the "Close" button, the field is hidden. The field can be shown again using the Hidden optional fields function.
4. Line Item Groups
In the "Line Item Groups" block, line item groups are managed centrally. Here you can, among other things, maintain the values of the line item groups and define a default billing interval per line item group.
Line item groups can alternatively also be edited directly via the Layout of the respective Billing modules. The settings item "Line Item Groups" serves as a central location for cross-module management.
4.1. Edit properties
After clicking the action icon "Edit properties" (icon "pencil"), the "Edit properties" popup opens:
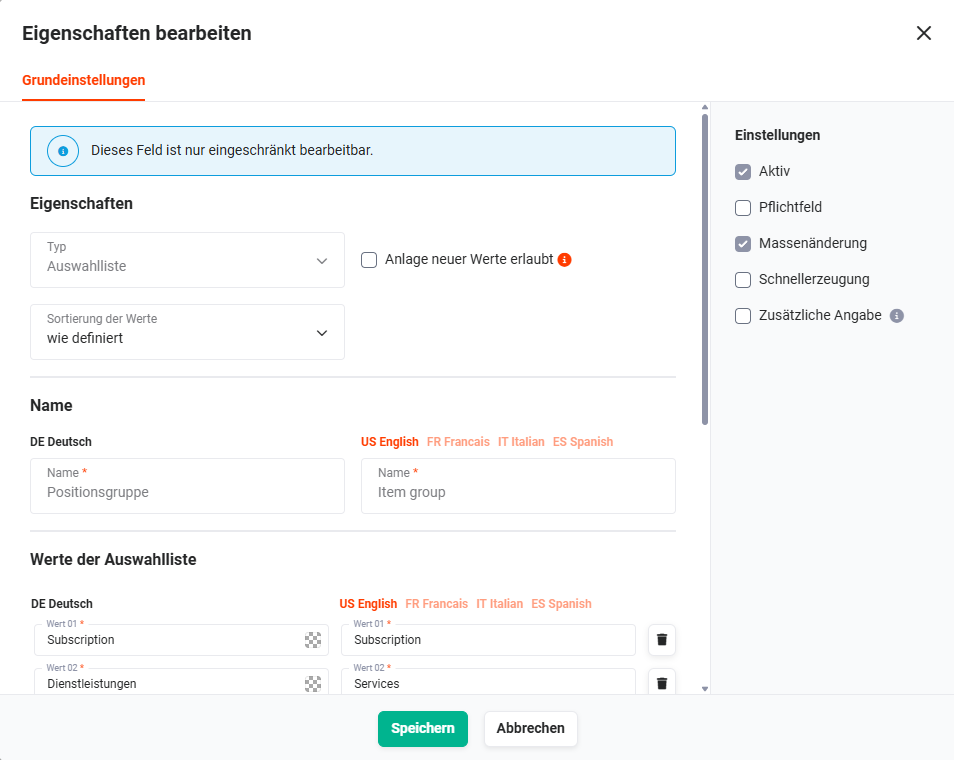 Popup Edit properties
The "Line item groups" field is only editable to a limited extent. Certain properties cannot be edited but are nevertheless displayed for information purposes.
On the left-hand side, all basic settings are configured. In the right-hand column, further settings can be made.
4.1.1. Basic settings
The Basic settings area is divided into the following sections:
- Properties
- "Type" field → Serves only to display the field type (picklist) of the "Line item group" field.
- Allow creation of new values (checkbox) → If this option is selected, users with the appropriate profile permission can create new values in this picklist.
The functionality is identical to the "Allow dynamic line item groups" function in the "Settings" block. - Sorting of values (picklist) → The options "as defined" ("Picklist values" block), "ascending" and "descending" are available here.
- Name → Name of the picklist field of the line item group (display only, not editable)
- Picklist values → Values/names of the line item groups (multilingual). Line item groups can be added, removed, renamed and sorted (drag & drop) here.
- Default value → Default value of the line item group that is displayed when adding a new line item group.
4.1.2. Settings
The following fields are available in the "Settings" area:
-
Active → Serves only to display that the "Line item group" field is active. The checkbox cannot be deactivated, as a line item group is always required.
-
Mandatory field → Mandatory fields are marked with a red asterisk * in the create and edit view of a record. A record cannot be saved if a mandatory field does not contain a valid value!
-
Bulk edit → In list views of modules, the Bulk edit action is available. The checkbox cannot be deactivated, as a line item group is always required.
-
Quick creation → At various places in the brainX system, new records can be created using the so-called "Quick creation" (e.g. the "Create" action in the navigation bar). This means that only a popup window with the most important fields is displayed, instead of the create view of a new record.
If the "Quick creation" setting has been activated, the field is also available accordingly in the popup window.
-
Additional information → If the "Additional information" setting has been activated, the field is not available in the main screen for data entry, but is displayed in a separate sidebar in the detail view of a record.
4.2. Default billing interval
For each line item group, a default billing interval can optionally be saved.
After clicking the "Default billing interval" picklist, a picklist opens with all existing billing intervals.
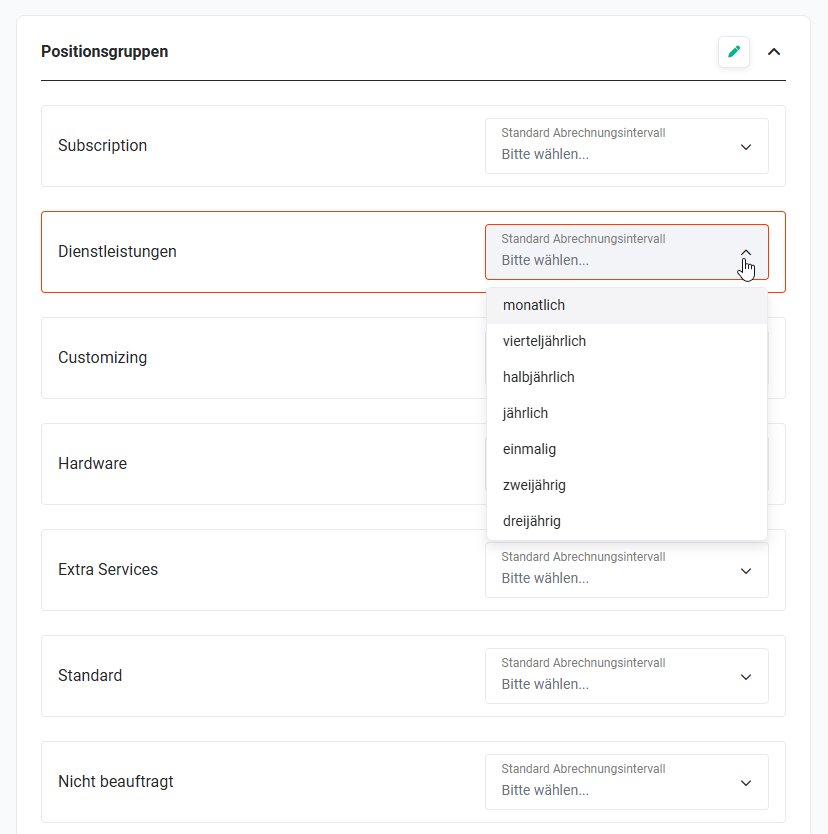 Line item groups - Selection of default billing interval