
Connect
Package: SALES
1. General
The Connect module enables telephony integration in brainX. All incoming and outgoing calls as well as SMS messages are logged as fully-fledged records and automatically linked to records in the Contacts, Organizations, Leads, Partner and Vendors modules.
Currently, the telephony providers Sipgate (Classic and Neo) and Placetel are supported.
Which providers are available and how Connect is activated for the Organization is described in the section Global Settings. Individual setup per user is done under My Settings.
The Connect module offers the following options:
- Incoming calls are shown as a popup with the associated record data (Inbound)
- Initiate outgoing calls directly from a record by clicking on the phone number (Outbound)
- Send and receive SMS messages
- SMS dispatch via Automations
- Complete call and SMS history with genuine record linking and detail view
- Switch Organization during a call if the contact is stored in a different Organization
- Create and control Connect records via the interface
An existing customer calls. brainX recognises the phone number and shows a popup with the linked contact and organisation record. The user can open the record directly from the popup, enter a comment and save it – even if the call has already ended in the meantime. The popup remains until it is explicitly closed. The call is automatically logged as a Connect record and linked to the contact.
After a new contact is created, a welcome SMS is to be sent automatically. An automation with the trigger Record saved (module Contacts) sends an SMS when a new record is created, the text of which contains placeholders for first and last name. The dispatch is logged as a Connect record of type SMS, linked to the contact, and shows the time of sending as well as the status.
2. List view
The list view in the Connect module offers the usual functionalities of a list view. More detailed information on this can be found in the section Layout/Structure – List view.
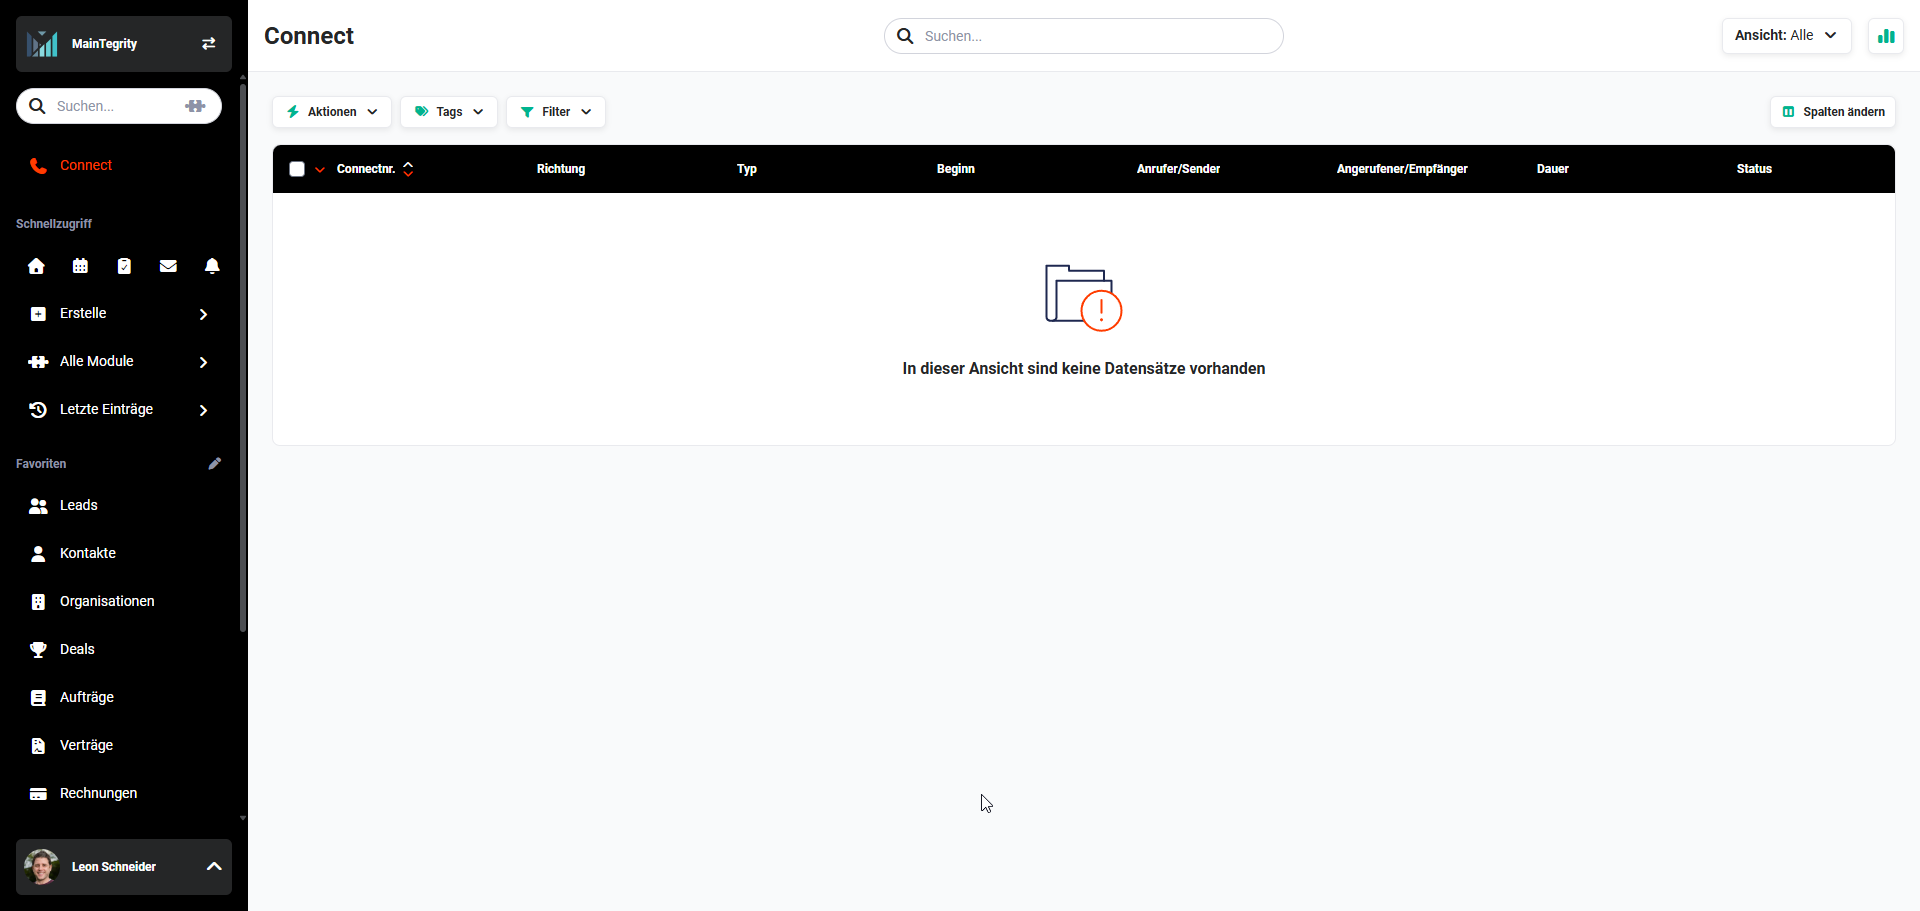 Connect module list view
Connect records can be filtered by type (Call, SMS). Using filters, search and list views, calls and SMS can be evaluated specifically by caller/sender, recipient, time and status.
The filter options provide the fields Incoming user, Outgoing user, Incoming record and Outgoing record. These relate to the combined fields Caller/Sender and Called party/Recipient displayed in the detail view.
2.1. Actions
General actions are available in the list view. An overview and description of all general actions can be found in the section Actions (List view).
There are no module-specific actions in this module.
3. Detail view
3.1. Fields
The following table describes all fields of the module. Since records in the Connect module are created exclusively and automatically by the telephony integration, the fields serve purely for information and cannot be filled in manually.
Basic data block
| Field | Description |
|---|---|
| Type | Type of the record: Call or SMS |
| Status | Current status of the record (e.g. Connected, Not answered, Sent) |
| Direction | Indicates whether it is an incoming or outgoing process |
| Start * | Time at which the call was answered or the SMS was created |
| End | Time at which the call ended or the SMS was successfully sent |
| Caller/Sender | Display of the caller or SMS sender (combined field – see note below) |
| Caller number * | Phone number of the caller or SMS sender |
| Called party/Recipient | Display of the called party or SMS recipient (combined field – see note below) |
| Called party number * | Phone number of the called party or SMS recipient |
*Mandatory field
The fields Caller/Sender and Called party/Recipient are each internally represented as two separate fields – one for the linked record (e.g. Contact, Lead, Organization) and one for the user. When used in filters or automations, the fields Outgoing record, Incoming record, Outgoing user and Incoming user are available separately. The combined fields Caller/Sender and Called party/Recipient displayed in the interface are pure text fields for display purposes.
Call block
| Field | Description |
|---|---|
| Duration | Call duration of the call |
| Outgoing via Click2Dial | Indicates whether the outgoing call was initiated via click-to-dial from a record |
| Transcription | Automatically created transcription of the call content, if available |
SMS block
| Field | Description |
|---|---|
| Content | Text of the sent or received SMS message |
| Error message | Error message from the provider, if the SMS could not be successfully delivered |
3.2. Actions
The following actions are available in the detail view:
3.2.1. General actions
- Recommend
- Delete
- Change tracking
Detailed information on the actions can be found in the section Actions (Detail view).
3.2.2. Module-specific actions
There are no module-specific actions in this module.
4. Call popup
When a call comes in as well as when an outgoing call is started by clicking on a phone number, a popup is automatically displayed. The popup persists while navigating the system and can be minimised.
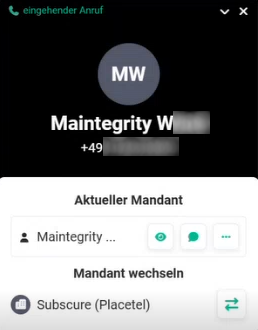 Example popup incoming call
The call popup offers the following functions:
- Display of all records linked to the calling or called phone number
- Direct linking to the linked records
- Enter a comment directly during or after the call
- Switch Organization – if the contact is stored in a different Organization, the Organization can be switched in the popup. The Connect record is then automatically assigned to the selected Organization. An accidental switch can be undone.
If a comment is entered in the popup and the call ends in the meantime, the entry can still be completed and saved. The popup only closes after saving.
For unknown phone numbers – i.e. calls to which no existing record can be assigned – it is possible to create a new record directly from the popup. The following are available for selection: Contact, Lead, Organization, Partner and Vendor. The phone number is automatically transferred into the new record.
5. Configuration
5.1. Activation (Administrator)
The activation of Connect for an Organization is done in the Global Settings under the item Connect. The available providers are listed there.
5.2. Setup (User)
The individual setup is done per user under My Settings → Integrations. The following settings are available depending on the provider:
- Authentication with the telephony provider (e.g. Sipgate, Placetel)
- Phone number – automatically pre-filled after authentication
- Device for calls – the desktop device is pre-selected automatically; if several devices are available, another one can be chosen. With Sipgate Neo, the Sipgate Desktop App is also available here as a device.
- Device for SMS dispatch – can be deactivated to prevent SMS dispatch for this user
- Show calls – controls whether the call popup is displayed for this user
6. Practical examples
1 – Handle an incoming call and add a comment
Initial situation: An existing customer calls. The responsible employee is currently working in another area of brainX.
Procedure in brainX: The call popup appears automatically and shows the linked contact with its organisation affiliation. The employee opens the record directly from the popup, discusses the matter and enters a comment in the popup. Just before saving, the customer hangs up – the employee still completes the comment and saves.
Result: The call is logged as a Connect record with caller, time and status. The comment is stored with the contact. Both can be traced at any time in the detail view of the contact via the linked Connect list.
2 – Start an outgoing call via click-to-dial
Initial situation: A sales employee is to contact a qualified lead by phone and document the conversation.
Procedure in brainX: The employee opens the lead record in the Leads module and clicks on the stored phone number. brainX initiates the call directly via the connected telephony provider. After the conversation, the employee enters a comment about the outcome of the conversation in the popup.
Result: The outgoing call is documented as a Connect record and linked to the lead. Call duration, time and status are recorded. The conversation can be viewed in the lead's call history.
3 – Correctly assign a call from another Organization
Initial situation: A company operates brainX with two Organizations. A contact stored in the second Organization calls – the user is currently logged into the first Organization.
Procedure in brainX: The call popup shows the phone number and indicates that a matching contact was found in a different Organization. The user switches to the second Organization in the popup. The Connect record is automatically reassigned to the second Organization and linked to the contact there.
Result: The call is correctly assigned to the associated contact in the correct Organization. No subsequent manual maintenance is required.
7. Frequently asked questions
Which telephony providers are supported?
Currently, Sipgate (Classic and Neo) and Placetel are supported. With Sipgate, the connection is established via a single connector – the system automatically detects whether it is a Classic or Neo account. New providers can be integrated according to a uniform adapter principle. With Sipgate Neo, the Sipgate Desktop App is additionally supported as a Device for calls.
What distinguishes Connect from the previous PBX Manager?
Connect offers genuine record links instead of pure HTML links, a fully-fledged detail view per entry, SMS dispatch and receipt, a call popup also for outgoing calls (click-to-dial), the ability to switch Organizations directly in the popup, as well as full controllability via the interface.
Can Connect records be controlled via the interface?
Yes. Connect records can be created via the API, the status can be controlled, and the display of the call popup can also be controlled via the interface. This means that almost all functions available in the interface can also be used via the API – e.g. for connecting your own telephony solutions.
How does SMS dispatch via automation work?
An automation provides the action Send SMS. The text can contain placeholders for fields of the triggering record. The dispatch is logged as a Connect record of type SMS and linked to the respective record. Incoming SMS are retrieved periodically and are likewise created as Connect records.
Are incoming SMS captured automatically?
Yes. Incoming SMS to the configured provider account are retrieved periodically and created as Connect records of type SMS. They are automatically linked to the matching record, provided the phone number is stored in the system.
What happens if a phone number is not known in brainX?
If the phone number is not assigned to any record, no linked record is shown in the call popup. The Connect record is nevertheless created. The user can subsequently link the record to a record manually.
Can the call popup be deactivated?
Yes. In My Settings → Integrations, the option Show calls can be deactivated. The popup then no longer appears for this user.